
Turn ideas into visible decisions: a practical image prompting workflow
Start with purpose and structure, give references clear roles, then inspect and repair visible details instead of piling on adjectives.
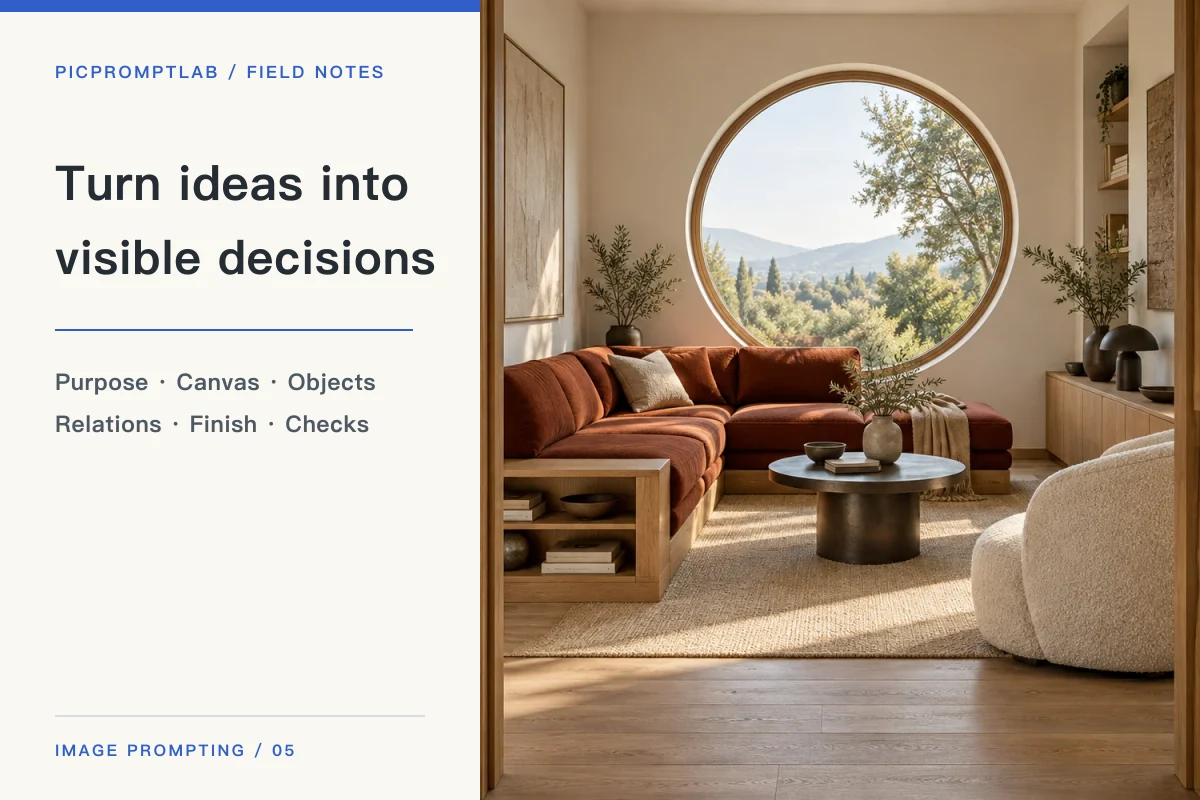
- Write a brief with purpose, canvas, objects, relationships, appearance, and checks
- Organize space and reading order before materials and light
- Make focused edits with “change → preserve → allow”
01 / 03
Decide what the image needs to do
The source suggests a useful order: purpose, canvas, contents, relationships, appearance, and checks. For an interior-design video thumbnail, decide first what a viewer should read on a phone. Reserve the left side for a headline, and make a rust sofa and circular window the visual anchor on the right. Only then add wood grain, daylight, and photographic finish. Put exact words, margins, and space for a platform badge into the checks. The image below is our new demonstration of that split, not a reproduced result from the source.
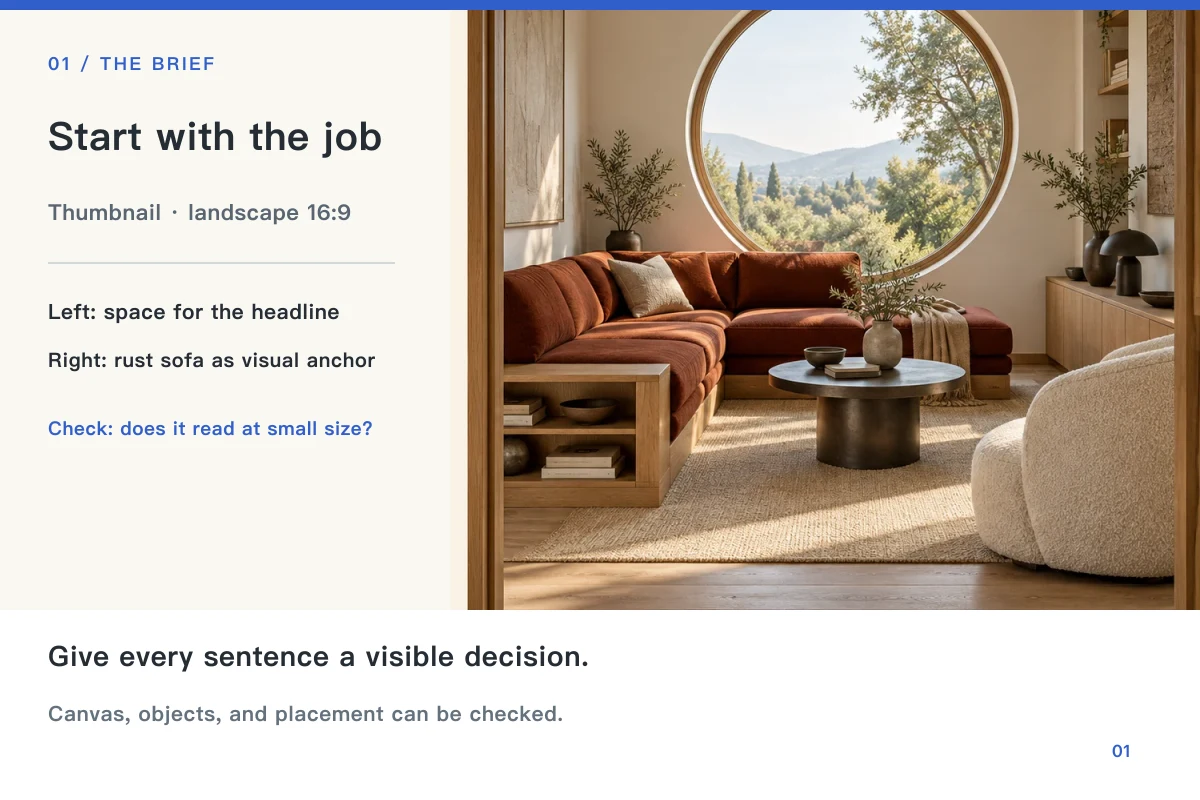
Create a landscape interior-design video thumbnail. Keep roughly 38% of the left side as clean warm-ivory space for later type, with no generated text. On the right, photograph a compact living room from the doorway: one rust modular sofa as the visual anchor, a circular window behind it, pale-oak storage, and an ivory chair. Natural daylight, believable materials, coherent perspective. Check that the left margin stays open and the sofa reads at thumbnail size. No arrows, stickers, or extra furniture.
02 / 03
Give complex scenes a structure before adding detail
A crowded scene becomes difficult to control when the objects have no stated relationships. The source’s coastal-room example establishes left joinery, a fireplace on the back wall, and glazing on the right. It then places the sofa, table, chair, and circulation before specifying stone, linen, timber, and sea daylight. Give every reference a job: layout, material, or palette. Hidden roof and foundation details in a photograph must be newly designed, not claimed as recovered facts. Our fictional coastal room illustrates that large-to-small order.
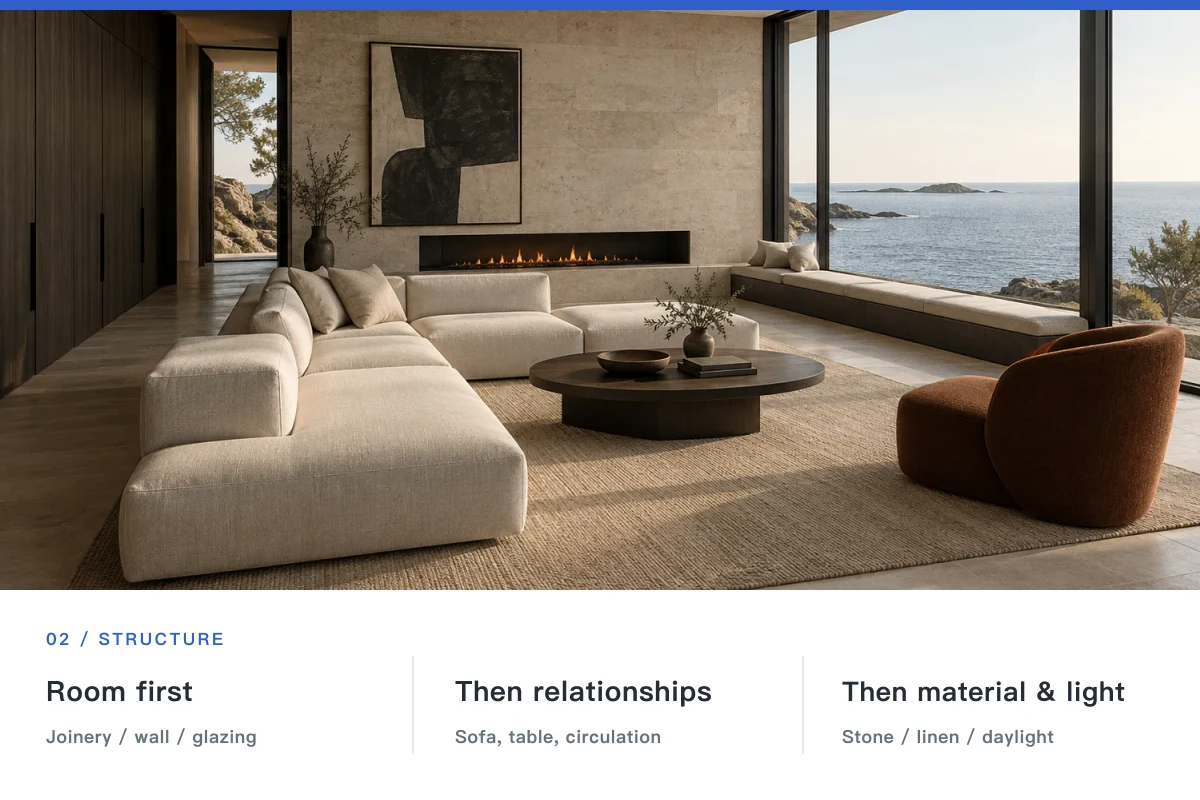
An editorial interior photograph of one rectangular, single-storey coastal living room, landscape 3:2. Smoked-oak joinery on the left, a pale-stone fireplace on the back wall, and full-height glazing toward the sea on the right. Place an ivory-linen sofa and oval dark-wood table in the center, with one rust-wool chair on the right. Leave a clear circulation path. Seated eye-level view, natural wide architectural perspective, soft sea daylight entering from the right. Check wall relationships, furniture count, contact shadows, and distinct materials. No people, text, or extra furniture.
03 / 03
Inspect hard requirements, then make a testable edit
After generation, avoid stopping at “looks good.” For a product image, check that there is one bottle, transparent glass, a clear distinction between wood and metal, and legible label copy where required. Verify dimensions and text separately when accuracy matters. The source frames local repairs as “change → preserve → allow”: change only the cap color, keep its shape, position, bottle, and composition, and allow highlights and reflections to adapt. Fix the most important visible issue first. Use dedicated tools for charts, measured scales, and exact typesetting. This demonstration deliberately leaves the label blank for final layout.
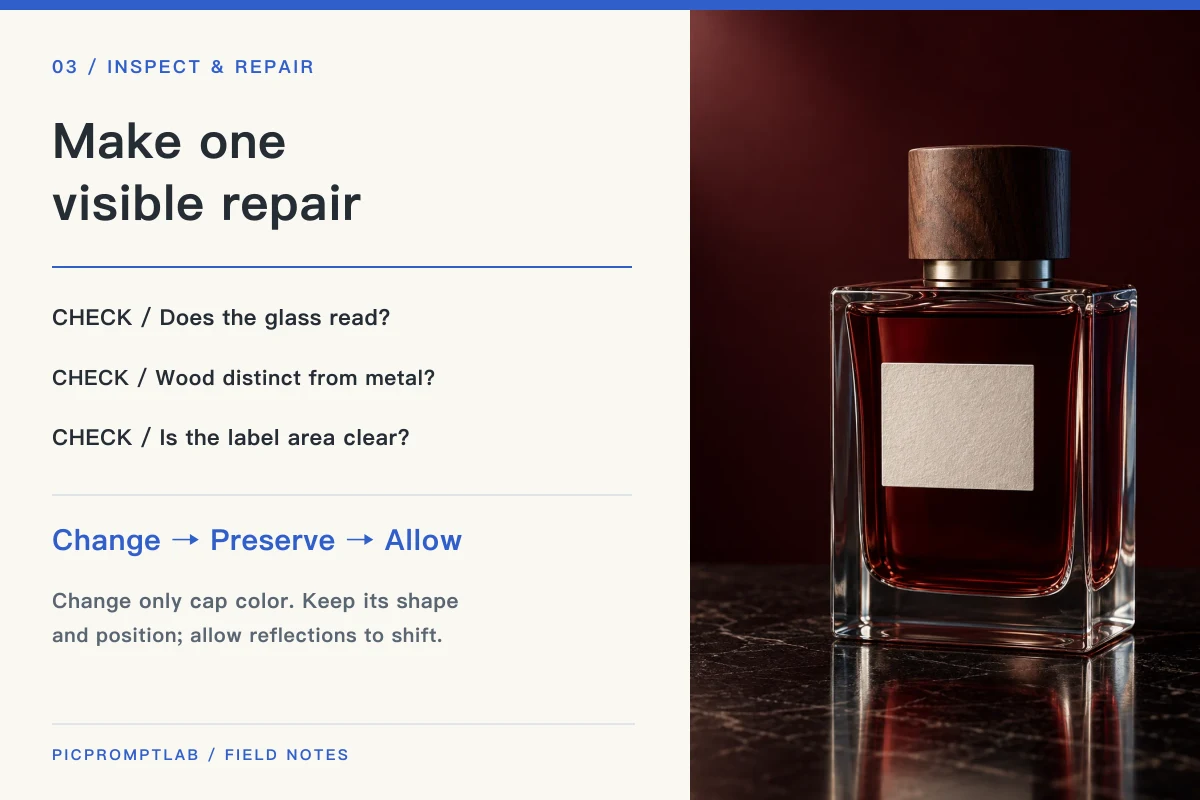
Edit only the cap in this product image: change its dark-brown color to charcoal black. Preserve the cylindrical shape, size, position, and wood grain. Keep the bottle, blank paper label, framing, and light direction unchanged. Allow the cap highlights and stone reflection to change naturally with the darker color. Add no text, props, or second bottle.